At CarnivoreWeb.com, we independently review products and outfitters. However, we may earn a commission when you purchase products through links on our site. Read our affiliate policy. Read about how we test products.
The Secret is Out. Sous Vide Cooking is How Wild-Game Gourmets Achieve Precise Perfection.
Wild game is lean meat. Because of that quality, it can very easily be overcooked and then suffer from a tough-and-dry reputation. However, venison can always be tender and juicy, if cooked right.
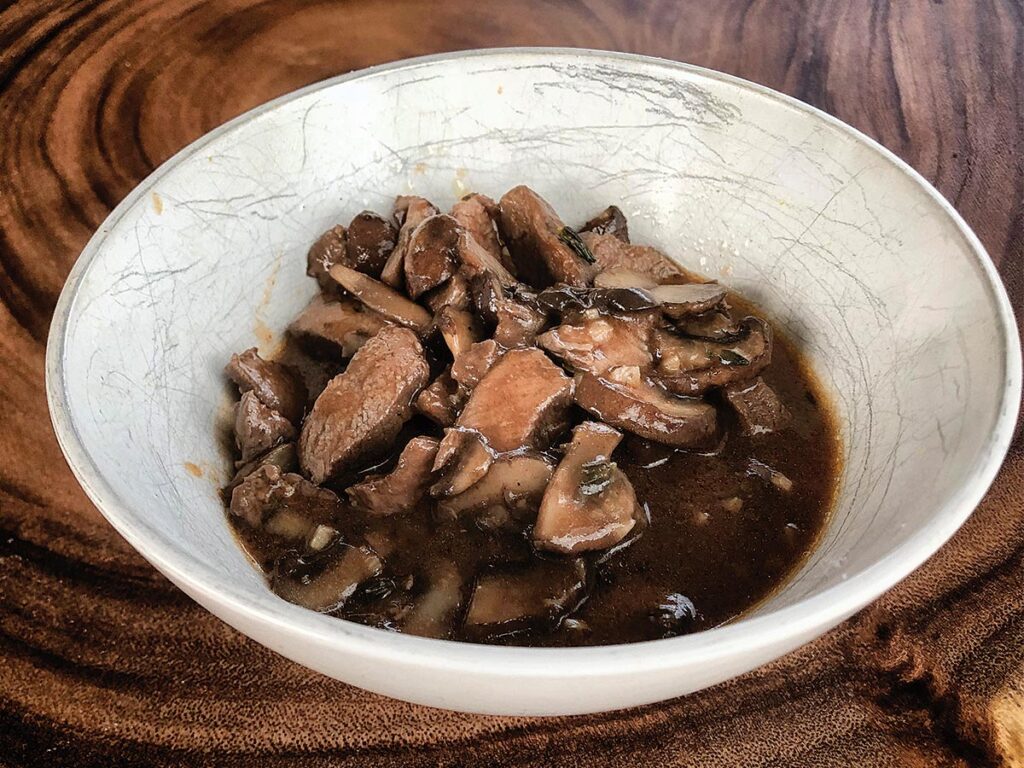
Sous vide is a trendy cooking technique anyone can master right out of the box. The first time we tried it was on deer chops, served with a simple, homemade steak sauce. My family and I were left wide-eyed and speechless by how flavorful it was. The next night, we precision-cooked pronghorn taken during a recent hunt on a wide-open Wyoming prairie. And we eventually sous vided our way through every other game meat in the freezer. The results were always amazing.
Sous Vide Defined
The popularity of this cooking method among home cooks has recently exploded. The appeal of this method lies in a hands-off process that yields foolproof, perfectly cooked meats, eggs, seafood, and vegetables. This is done using a simple machine called an immersion circulator (IC), also known as a sous vide device, a large pot of water, and sealed bags stuffed with meat.
Sous vide is a French phrase, meaning “under vacuum.” Restaurants have used this method of cooking for years, typically vacuum-sealing food within plastic or silicone bags. The sealed package of food is then submerged in a precisely temperature-controlled water bath. The type and thickness of meat determines the temperature and length of time needed to safely produce ideal results, and slow and low cooking breaks down the collagen in them to render tender, juicy meats.
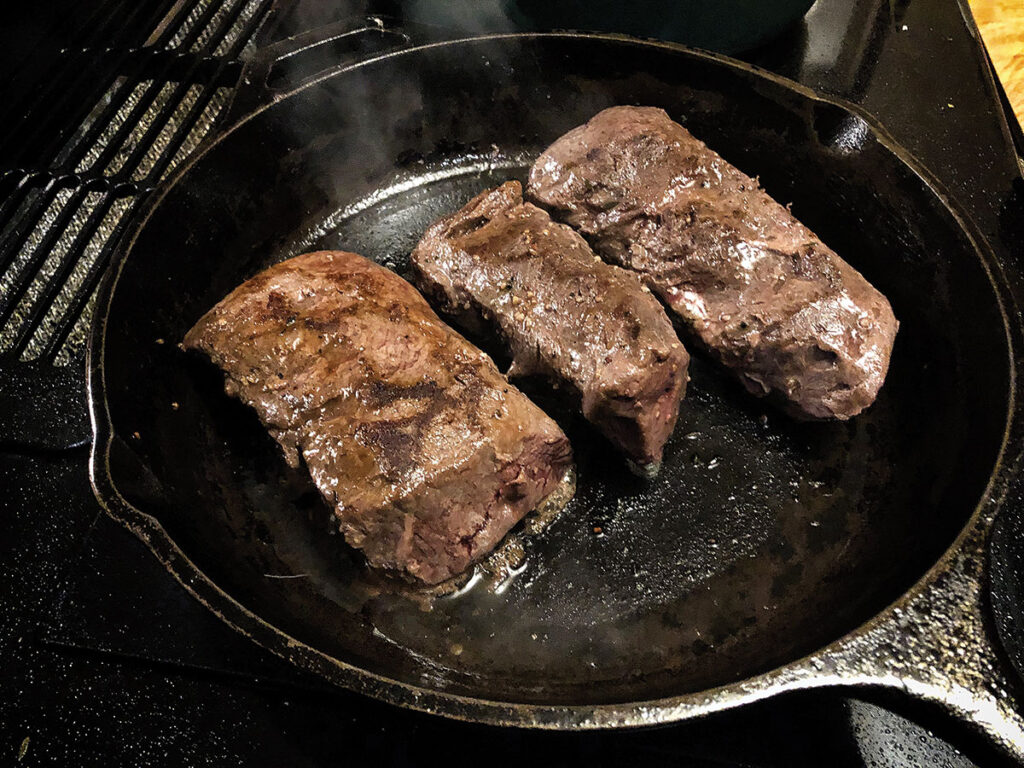
Since the temperature is precisely controlled to your specific settings, it’s never too low or too high, and your results are always consistent. And, if you have a crowd coming for dinner, large quantities can be cooked hours in advance and kept at the perfect temperature until serving, again without the risk of overcooking. Taken straight out of the bath, red meat will look unappealingly dull brown or gray. As a finishing touch, quickly sear steaks and chops to enhance their flavor and give them an appetizing visual appeal.
Device Considerations
There are several options to think about when selecting an IC device and cooking bags. Some are Wi-Fi enabled with mobile apps for control. The main benefit of Wi-Fi enabled devices is that you can monitor the timer, temperature, and water level from anywhere. This comes in handy for recipes that take many hours. For those who want control of the device at their fingertips, there are many devices that have manual controls or both Wi-Fi and manual controls.
ICs have minimum and maximum water levels that the water level must stay between. The wider the range, the easier it is to use for longer cooking times as the water level will decrease while cooking due to evaporation. When you cook a tougher or larger cut of meat, which takes longer to get tender, you’ll want a greater range for water level.
Size of the IC device is another feature that sets them apart. Smaller yet powerful ICs top most reviewers’ lists as they take up less valuable space in your pot, leaving more room for your food. Smaller units (2.5 pounds or less) are also easier to store.
Most vacuum-sealer bags are boilable (it says so on their box), and since vacuum-sealed bags are airtight, they’re ideal for sous vide. With the displacement method described later, you can also use Ziploc freezer bags, which are made of polyethylene without additives. If you can’t stand the thought of cooking in plastic or want something reusable, you could opt for silicone bags instead. We tested Homelux Reusable Silicone Food Bags, bought online. The silicone is rather thick, keeping the bag from making a tight seal around the meat. For this reason, they may be best used with thicker pieces of meat, 1.5 to 2 inches thick.
Easy Cooking
Once you have your equipment ready to rock, the cooking process is hands off. Just set it up, leave it alone to slowly cook, and sear it or add a sauce as the finishing touch.
Getting started:
- Use an app or website to find cooking temps and times.
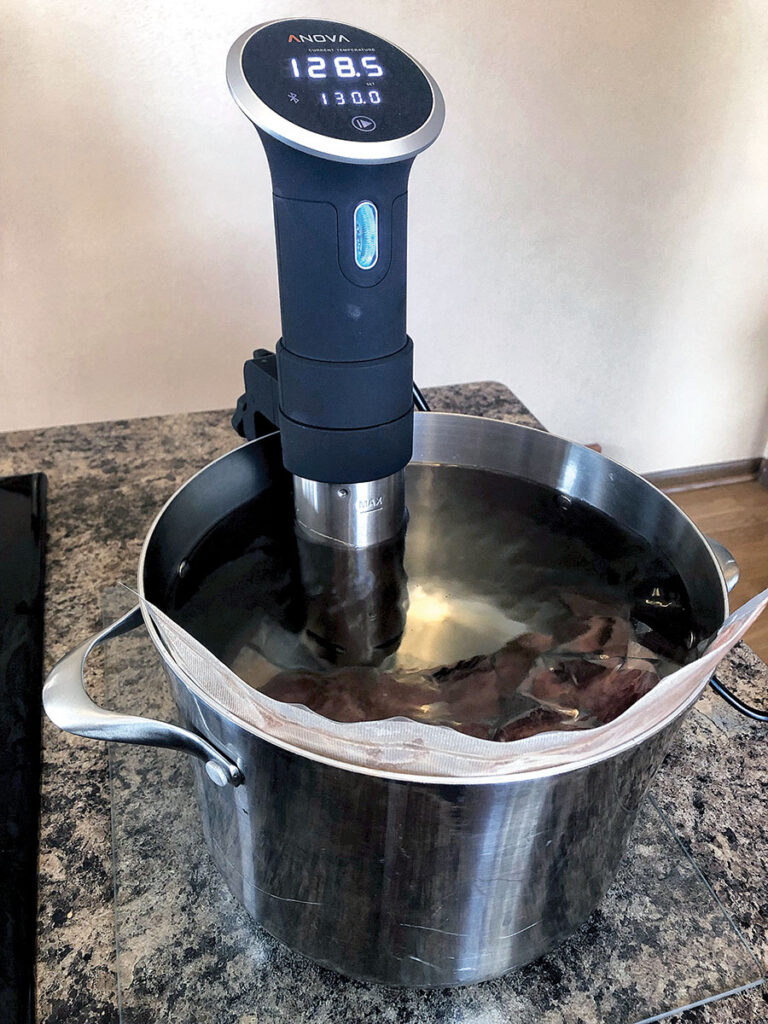
- Set your IC device temp, place it in a container such as a large pot, and allow water to come up to desired temp before adding the meat.
- Wait until just before cooking to season meat with salt and pepper.
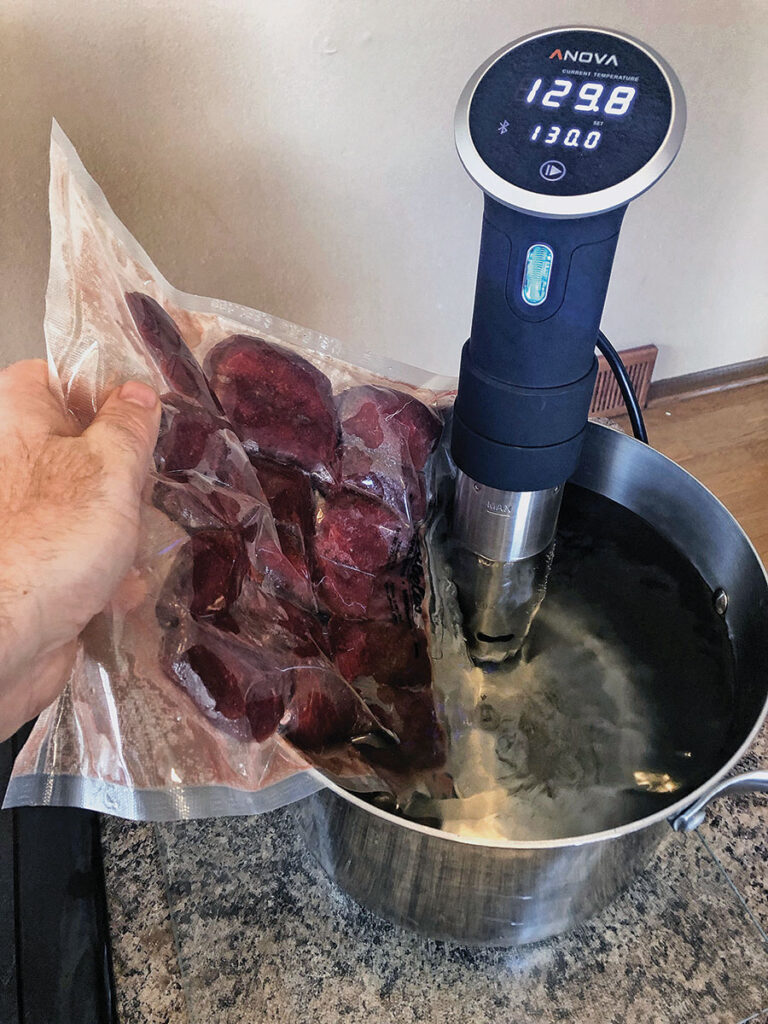
- Slide meat into your bag(s) along with any herbs (optional). Make sure meat is single layer. You may need to use more than one bag.
- Use the displacement method when sealing Ziploc or silicone bags. To do this, slowly lower each bag into the water. The pressure of the water will press the air out through the top of the bag. When most of the air is out, thoroughly seal the bag just above the waterline.
- Set a timer for the desired cook time.
Important tips:
Ensure multiple bags of food aren’t pushed too close against one another; the hot water won’t be able to fully circulate, and you’ll end up with spots that are undercooked.
Position the bag(s) so the intake/output of the device isn’t blocked. If your bag is properly sealed, it should sink.
For food safety, always cook at a minimum 130 degrees F. The lower the temp the longer you need to cook in order for food to be pasteurized. Refer to device or app guidelines.
Don’t use raw garlic when cooking in bags, as there is a risk of botulism. You can add garlic when finishing with a quick sear or pan sauce.
Perfect Temps
There are different ideal cooking temps and times for each type of meat, cut, thickness, and whether fresh or frozen. For this reason, we strongly encourage the use of an app (see device guide below) or a trusted website (such as seriouseats.com). We had great results with the following:
Venison chops: 1-inch thick, 140 degrees, 1 hour
- A few minutes before your meat is done, heat a stainless steel or cast-iron pan with 1 tablespoon vegetable or canola oil over high heat. You can add aromatics like garlic or herbs right before the meat.
- Sear the chops for about 30 seconds on each side or until golden brown. Finish with some butter to coat as a final blast of flavor.
Poultry breasts: 1.5-inch thick, 149 degrees, 1.5 hours
- It’s important to cook poultry until pasteurized, not just heated through. Pasteurization happens when food is kept at a certain temperature for a specific amount of time. Higher temps equal shorter time to pasteurize food. Cooking poultry to 165 degrees by conventional methods means the meat will be pasteurized in a few seconds, but this isn’t ideal for taste and texture.
- Using the sous vide method, you can safely cook poultry at temperatures as low as 140 degrees F by holding it at that precise temperature for an extended period of time. For example, an average size turkey breast, sous vide at 145 degrees for two-and-a-half hours, will be pasteurized. Larger than average cuts of meat will need to cook for a longer time. Err on the side of caution, since an extra hour won’t overcook your meat.
TWO TOP-RATED SOUS VIDE DEVICES
Both the Anova and Joule devices maintain very accurate temps. Every review we read ranked these two devices as number one or two.
Anova Precision Sous Vide Cooker
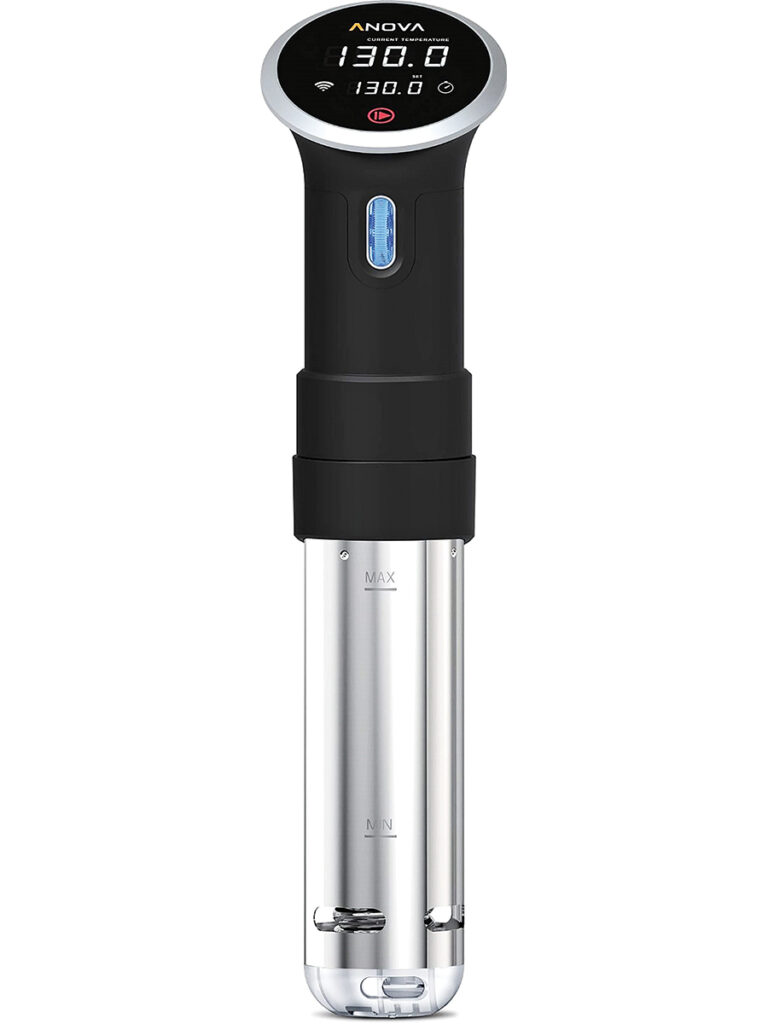
- ($129 Bluetooth/$159 + Wi-Fi)
- Pros: Has manual controls as well as Bluetooth; two-year warranty; clamps securely onto any pot or container; very accurate
- Cons: 800 watt heater will take longer to bring water up to temp than the Joule.
- Stats: 14.75 inches long, 6.25 inches between minimum and maximum water lines, 2.5 pounds
ChefSteps Joule Sous Vide Cooker

- ($179 white/$199 stainless steel)
- Pros: Very compact yet powerful device. 1,100 watt heater will bring water up to desired temperature faster. The Joule app is free to anyone and is very thorough yet easy to use. It even asks about the thickness of your meat and helps you cook from frozen.
- Cons: Can only be controlled using the mobile app, as there are no manual controls. Although this device has a magnetic base for metal pots, the clamp isn’t as easy to use as the Anova. One-year warranty.
- Stats: 11 inches long, 6.5 inches between minimum and maximum water lines, 1.28 pounds
Editor’s Note: This article originally appeared in Carnivore Magazine Issue 3.
More On Cooking
- Venison Philly Cheesesteak
- Sous Vide Wild Boar Shank
- Elk Jerky
- Easter Bear by Hank Shaw
- Mediterranean Spiced Ground Venison Kofta
Why You Can Trust CARNIVORE
Since its launch, CarnivoreWeb.com has been a trusted authority on hunting, fishing and wild food, delivering expert insight for outdoorsmen who live the field-to-table lifestyle. More than a hunting and fishing site, CarnivoreWeb.com covers the full spectrum of the modern outdoors—from rifles, bows, and fishing gear to cooking, conservation and adventure.
Our contributors are drawn from across the hunting and angling world, including seasoned guides, lifelong hunters, competitive shooters and outdoor writers with decades of field experience. Every review, article and feature is built on firsthand testing, deep research, and an unwavering commitment to accuracy.
Commitment to Journalistic Principles
At CarnivoreWeb.com, upholding journalistic integrity is our top priority. We follow strict editorial standards to ensure all content is accurate, transparent, and unbiased. Our editors and writers operate independently, free from outside influence, advertisers or stakeholders. We adhere to established journalistic codes of ethics, holding ourselves accountable for the information we publish, correcting errors when they occur and disclosing any potential conflicts of interest.
This commitment ensures that our readers can trust CarnivoreWeb.com to provide reliable, honest coverage that helps them make informed decisions—whether selecting gear, honing outdoor skills or preparing wild game.
Find out more about our Editorial Standards and Evaluation Process